Spa Wristband Crochet Pattern for Washing Your Face

This spa wristband crochet pattern, or wrist towel pattern, is perfect for keeping the water from running down your arms while you wash your face!
Wristbands with a new purpose!
Up until now, wristbands have been primarily used by athletes to keep sweat from running onto their hands while working out or playing sports. You’ll see them most often these days in a sport like tennis.

However, if you’re old enough to remember, wristbands also had a short stint of popularity as a fashion item in the 80s, along with leg warmers! Especially when dressing for the popular aerobics classes of the day!
But recently I’ve seen a new use for wristbands. There is a new wave of fluffy, microfiber wristbands on the market to be used when washing your face over the sink to keep water from running down your arms to your elbows! It’s a flip flop from the traditional purpose. Instead of keeping your hands dry, you are now using them to keep the rest of you dry from the water on your hands!
It’s the wrist towel you didn’t know you needed!
When I first saw these pop up on my instagram feed, they made me giggle because I am in fact old enough to remember these items from the 80s. And it’s always a kick to see things come back around.

But it didn’t take long for my next thought to be, “I bet I could make some of those!”
I picked up some yarn and hair ties and whipped a few up super quick! It is such a simple project! The next step was to test them out!
I’m happy to say that I loved these little spa wristbands from the first morning I tried them. They really do just what they are intended for! I truly dislike water running down my elbows when I wash my hands, so this was a simple fix that I didn’t even know I needed!

I can honestly say that I use these daily since I made them and consider them to now be a permanent fixture in my bathroom drawer! Besides being super easy to make, they are also very inexpensive since they take just a few yards of yarn and some hair ties!
The Yarn for this Spa Wristband Crochet Pattern
This post contains affiliate links, which means I may receive compensation (at no additional cost to you) if you make a purchase using these links.
As soon as I started brainstorming this project, I knew I had to use a blanket yarn. It is soft and squishy and absorbent. Perfect for a spa item.
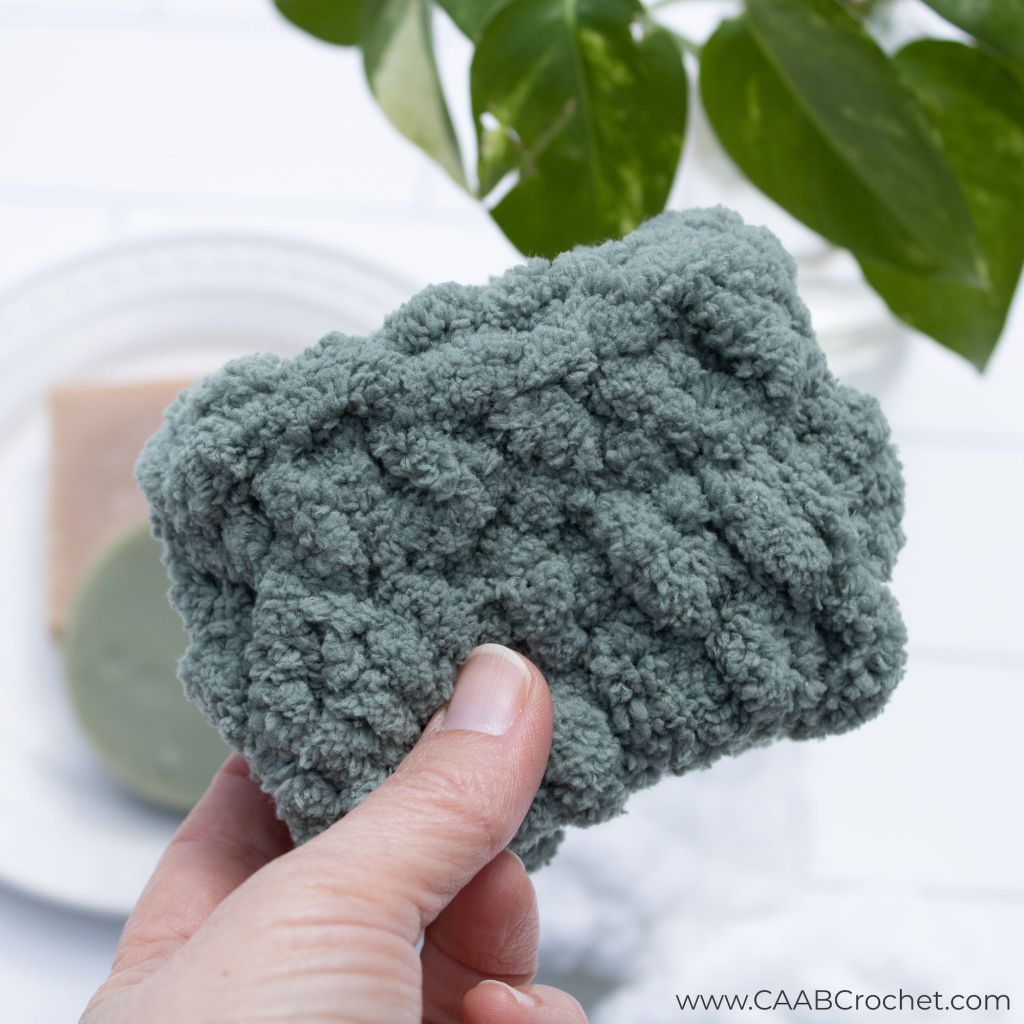
I decided to use Bernat Blanket Extra. It is a little bit thicker than the traditional blanket yarn, giving it just the right amount of luxury! I used the colors white and smoky green, but there are lots of other colors to choose from
And these skeins of yarn are huge at 97 yards! You could either get a whole lot of wristbands out of one skein, or you could just use the leftover yarn from a larger project. I’ve already made at least 6 and you can hardly feel a dent in the skein!
The one downside of this yarn is that it will easily come apart if you pull at the end of the tail. So, you do need to be careful of that when working with it. I would advise leaving a good length of tail in order to make sure it is long enough if it happens to pull apart a bit.
The Pattern
Add this spa wristband crochet pattern to your Ravelry favorites HERE.
Materials:
- 13 Yards Size 7 Blanket Yarn (I used Bernat Blanket Extra)
- US P/ 11.5 mm Crochet Hook
- 4 (50 mm) Elastic Hair ties (2 for each wristband)
- Yarn Needle
- Scissors
Gauge:
Gauge is not particularly important for this pattern
Sizing:
4” wide x 3” tall
Stitches Used:
(ch) chain
(sl st) slip stitch
(sc) single crochet
Pattern Notes:
Beginning chain of each round does not count as a stitch.
This pattern is written for completing a pair (two) wristbands.
I tend to crochet tightly. Gauge is not terribly important for this pattern. However, for reference I tend to crochet tightly. Some people find they even need to go down two hook sizes to meet my gauge. If you feel like your stitches are too tight, you can move up a hook size. If they feel too loose, try a smaller hook.
Video Tutorial:
Written Pattern:
Connect your yarn to your hair tie: Create your slip knot. Place slip knot through the center of the hair tie (from the back to the front) so that when you crochet the first round, you will stitch around the hair tie. The yarn will be pulled through the middle of the hair tie (from back to front) and your hook will be above the hair tie. Yarn over and pull through. This should secure your yarn around the hair tie.


Round 1: Chain 1. Sc 12 times around the hair tie. Do this by inserting your hook through the center of the hair tie, from front to back. Yarn over (yarn is above the hair tie) and bring yarn back through the hair tie, from back to front. Your yarn will now be around the hair tie, securing the stitch. Complete the rest of the singe crochet as usual. Complete all 12 sc in this manner. Join with a sl st to the first sc. (12)


Round 2: Ch 1. Sc in the same stitch and each stitch around. Join with a sl st to the first sc. (12).
Note: It can be difficult to see the stitches when using fuzzy blanket yarn. Feeling for the stitches can be a helpful method.
Round 3: Ch 1. Place the second hair tie behind your last round. As you insert your hook into the stitches for this round, also place your hook under the hair tie. When you yarn over, complete it above the hair tie so that the stitch works around the hair tie. In this manner, sc in the same stitch and in each stitch around. Join with a sl st to the first sc of the round. (12).


Finish off. Weave in your end. For the beginning tail, you might have some excess yarn hanging down from the initial slip knot. Use the yarn needle and tail to tuck that into the first row and weave in the end.
Repeat directions for a second wristband.
Note: Feel free to sell finished products made with this pattern. If finished products are posted online, please include a reference/credit to this pattern. Do not distribute or claim the pattern as your own, or alter and use my photos to market your finished products
More Crochet Spa Patterns:


